Getting started
StoreLingo translates Webflow Ecommerce stores into multiple locales. Every translated product becomes a real Webflow CMS row that lives in your own site. Read Ownership for the why; this page is the how.
The end-to-end setup takes about 5 minutes for a small catalog.
Step 1: Connect your Webflow site
After installing the app from the Webflow Marketplace, the panel opens at the SitePicker (Step 1 of 3).
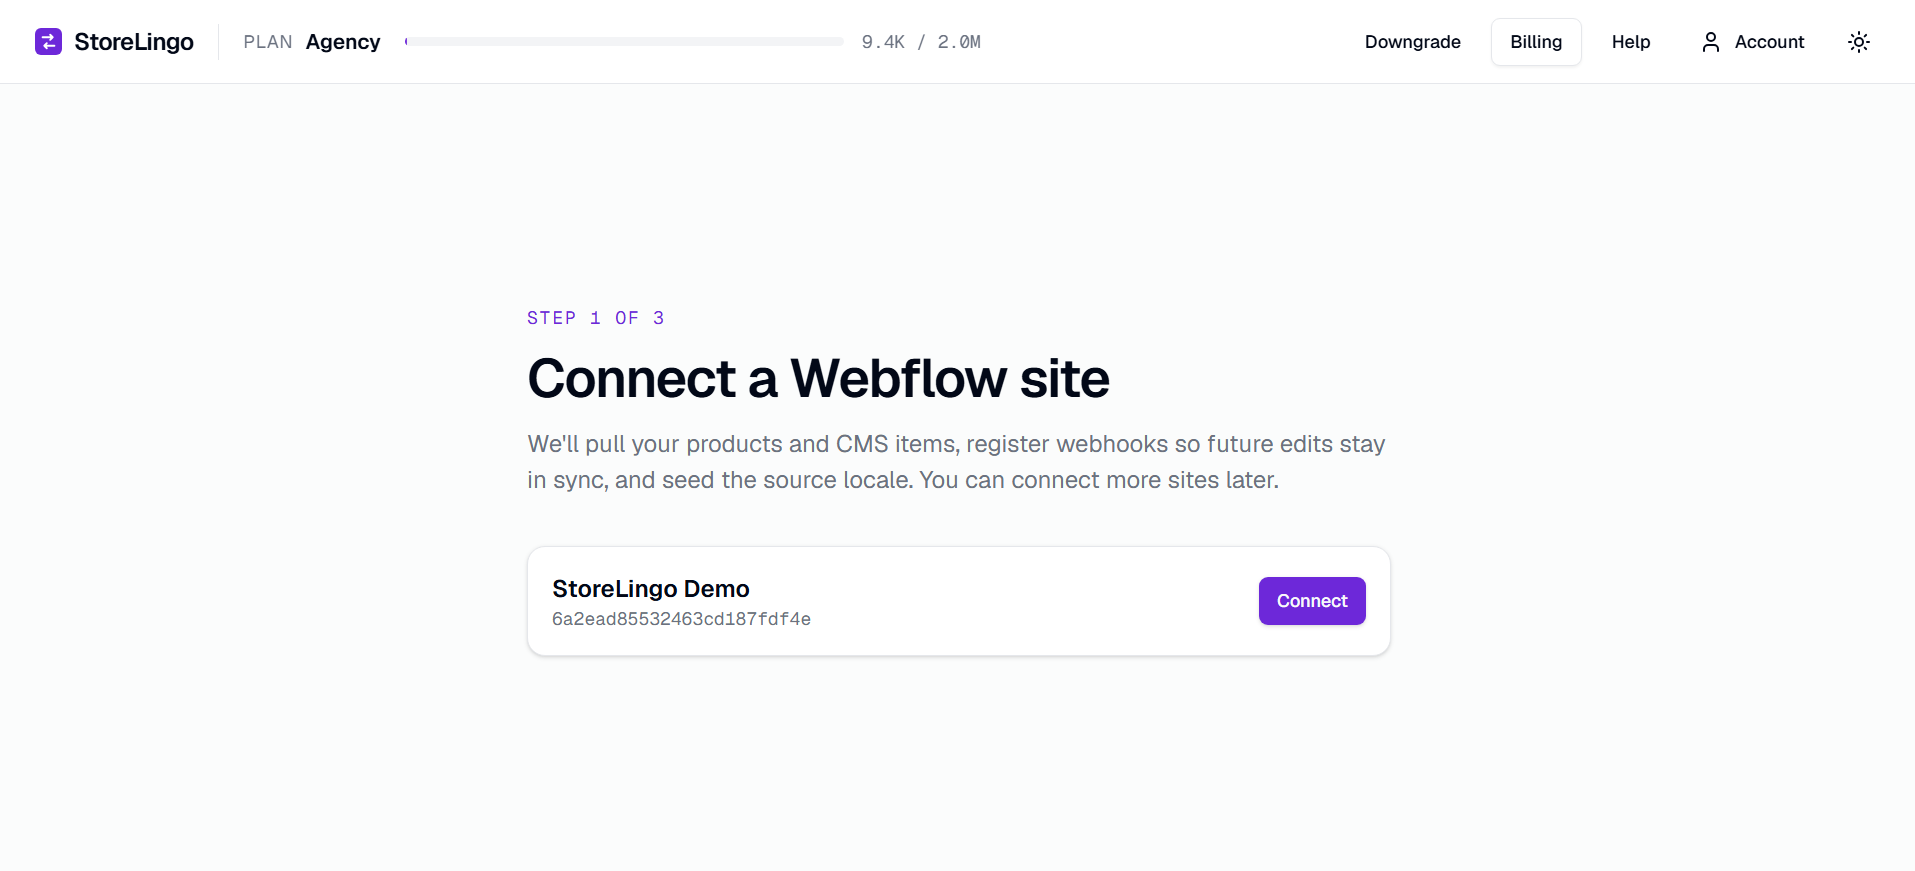
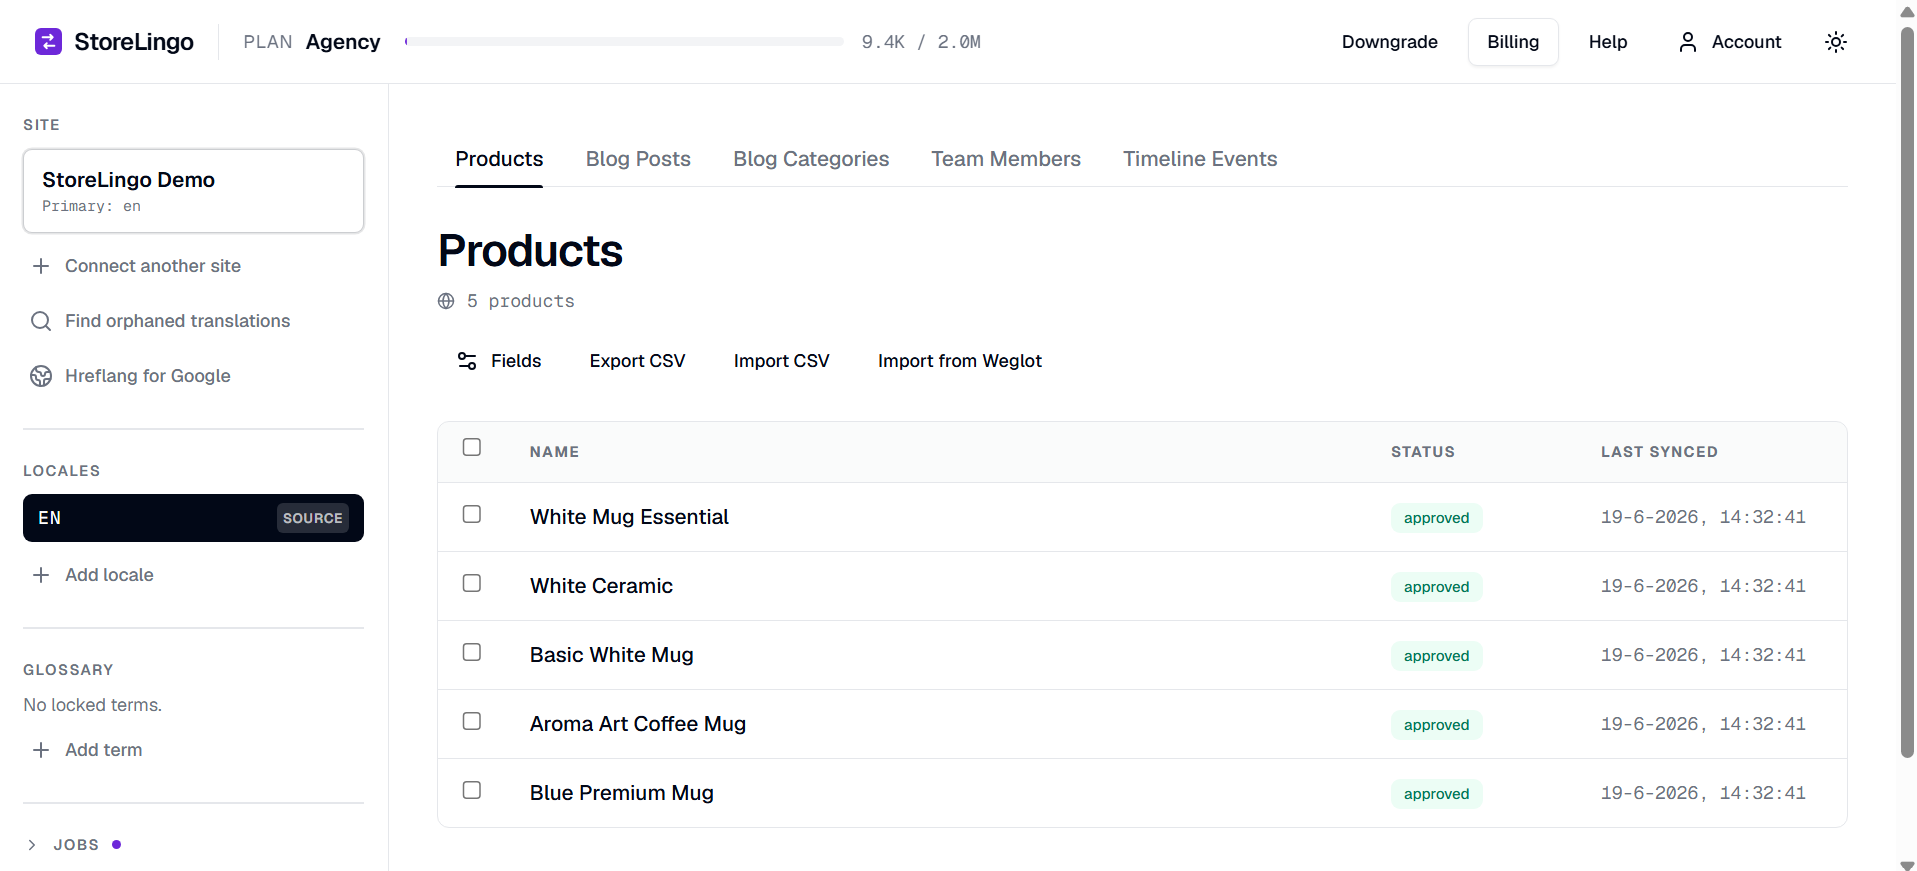
Click Connect on the site you want to translate. StoreLingo does four things in the background:
- Pulls every Ecommerce product (name, description, SKU variants, images).
- Pulls every CMS collection on the site (blog posts, team members, categories, custom collections).
- Seeds your source locale (defaults to
en; configurable later). - Registers webhooks so future changes you make in Webflow Designer flow back into StoreLingo automatically.
This usually finishes in 10-30 seconds depending on catalog size. You'll see a green Synced N products from Webflow toast when it's done. If your site has previous StoreLingo translations on it (from an earlier install or another account), a second toast offers to recover them - see Orphan Recovery.
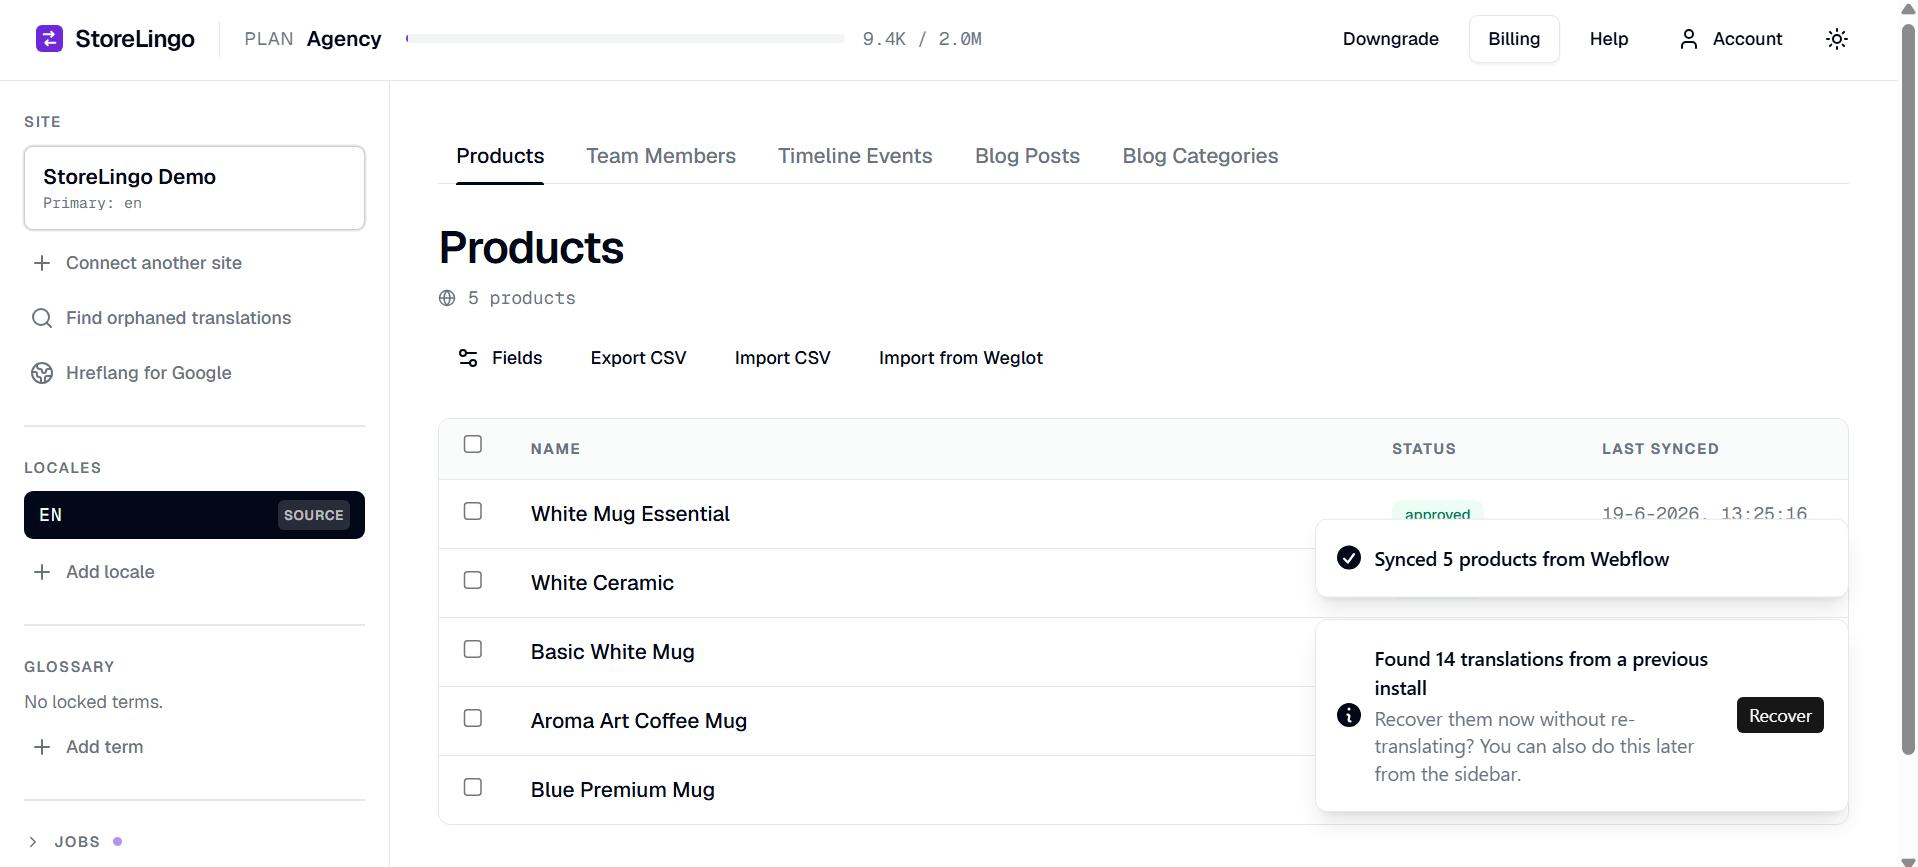
Step 2: Add a target locale
In the sidebar, click + Add locale. Enter a 2-letter code:
nlfor Dutchdefor Germanfrfor Frenchesfor Spanishjafor Japaneseen-GBworks too for regional variants
DeepL supports 30+ languages. Any locale you add becomes a target column in your Products and CMS tables, and gets its own slug prefix for the Webflow duplicate (e.g., de-blue-mug).
You can also use the slug prefix field to customize how the locale-duplicate URLs are formed. By default, the locale code is used (de-...); set this to de-de if you prefer regional URLs.
Step 3: Translate
Three ways to fill translated content. Use whichever fits the job.
3a. AI translate missing
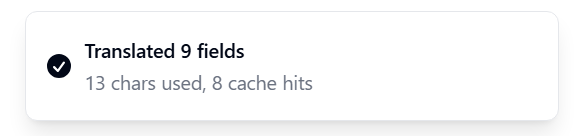
The fastest path. Click AI translate missing in the toolbar. StoreLingo runs DeepL across every empty target field for the active locale, in a single batched call. Translation Memory caches every segment, so re-runs of the same source string cost zero credits. Glossary terms are protected with XML placeholders, so brand names never get translated to nonsense.
For most stores, AI translate gets you to 90% completion in about 5 seconds.
3b. In-app editing
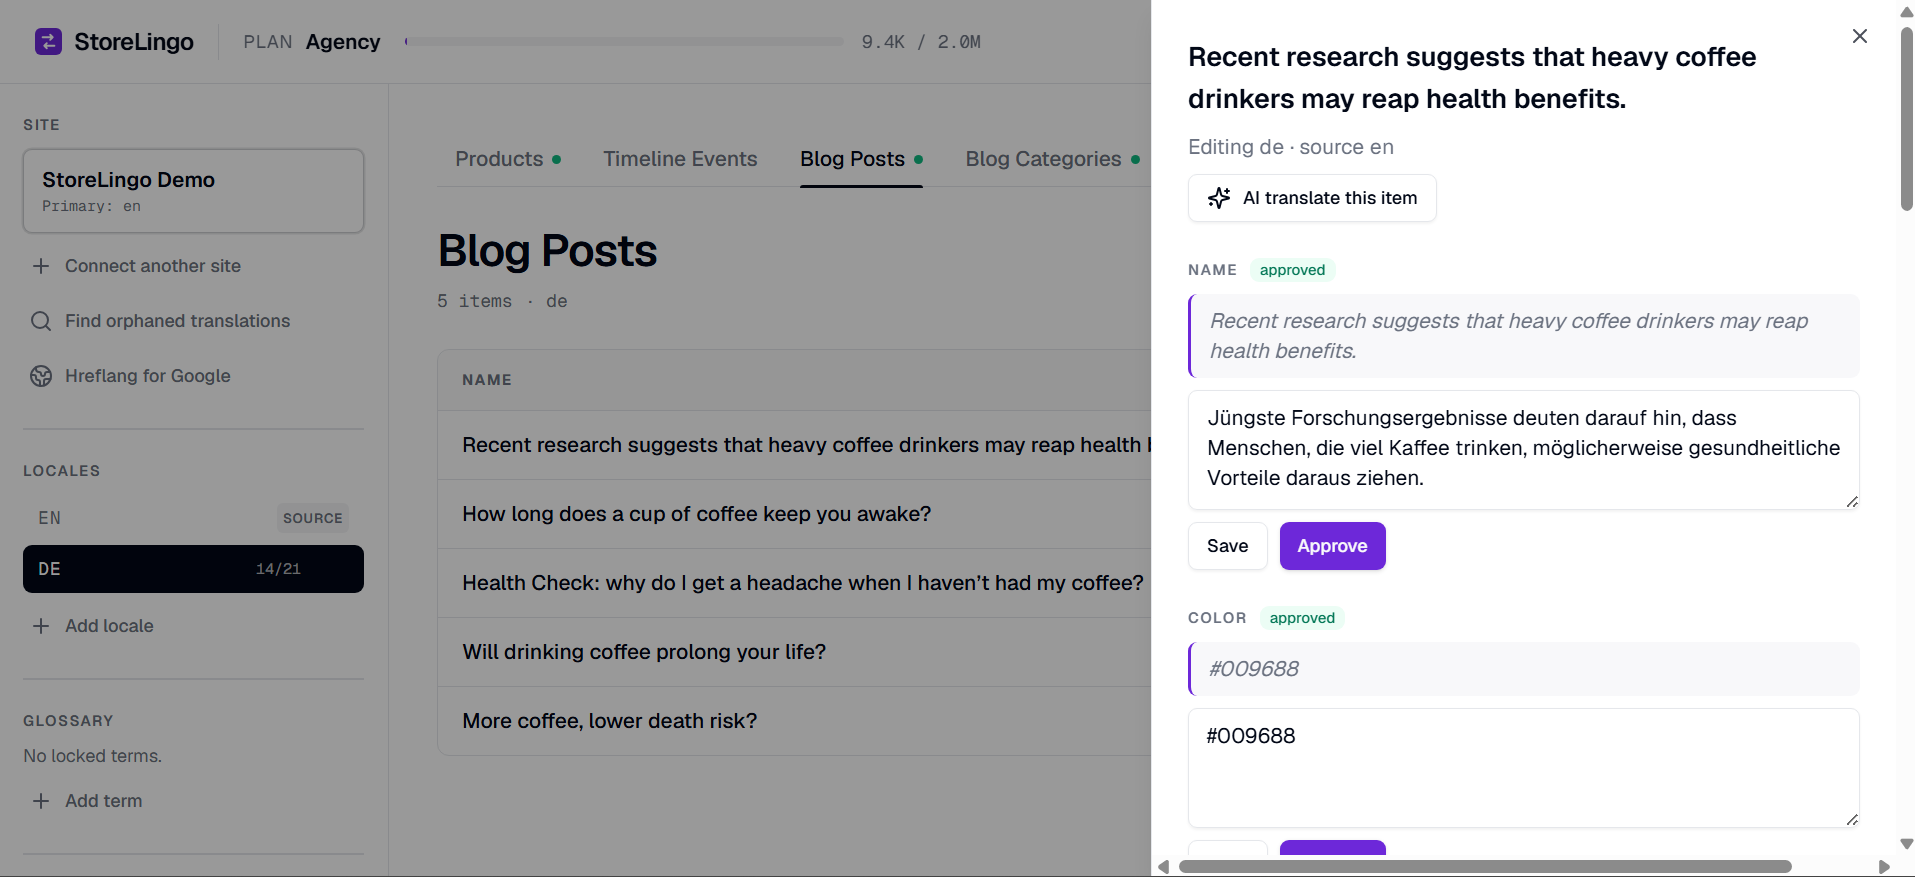
Click any product row to open the inline editor. The source content shows on the left, the editable target on the right. You can:
- Edit any field, save with Save.
- Click Approve to lock the translation (future AI runs won't overwrite it).
- Use the AI button per-item to retranslate just one product.
- View SKU variants below the product fields, with per-variant name translation.
3c. CSV import
If you already have translations from another tool (Weglot, Linguana, a translation agency), export them to CSV and use Import CSV in the toolbar. We support a Weglot-format CSV directly via Import from Weglot.
Step 4: Translate CMS collections
Switch to any CMS tab in the panel (Blog Posts, Team Members, your custom collections). Each collection has its own AI translate missing button and its own per-field editor. The completion chip in the sidebar aggregates across products + every CMS collection, so you always know what's left.
Step 5: Glossary (optional but recommended)
In the sidebar Glossary section, add brand terms that should never be translated. Common examples:
- Your brand name ("Acme")
- Product line names ("Pro Max")
- Industry jargon you keep in English
- Trademarked phrases
Each glossary term is wrapped in an XML placeholder during translation, so DeepL leaves it untouched and inserts it back into the translated string. This is how you keep "Buy Acme Pro Max today" from becoming "Achetez le Sommet Pro d'Acme aujourd'hui" in French.
Step 6: Publish to Webflow
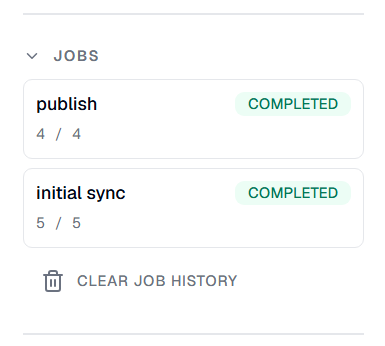
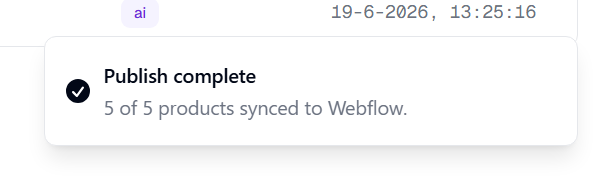
Once you're happy with the translations, click Publish DE to Webflow (substitute your locale). StoreLingo:
- For every translated product, creates or updates a duplicate Webflow CMS row with the translated fields and a locale-prefixed slug (
de-blue-mug). - For every translated CMS item, does the same in its respective collection.
- Triggers a Webflow site publish so the new pages render on the live site.
- Refreshes the hreflang script (see SEO and hreflang) so Google knows the German pages are alternate versions of the English ones.
On first publish you'll be asked to add a payment card (no charge during the 14-day trial). Once the card is on file, every subsequent publish runs without interruption.
Step 7: Verify on your live site
Open https://your-site.webflow.io/product/de-<some-slug> in a new tab. You should see:
- The product page rendering with German content.
- The price showing correctly in your store's currency.
- View source:
<link rel="alternate" hreflang>tags in the head, three or more depending on locale count.
If anything looks off, see Troubleshooting.
What happens next
Future workflows are even faster:
- New product in Webflow → webhooks notify StoreLingo → it appears in your panel ready to translate. Click AI translate missing, publish.
- Edit an existing product in Webflow → next sync picks it up. Re-run AI translate missing if the source changed (we use TM so unchanged fields cost zero credits).
- Add a new locale → AI translate missing, publish. The hreflang script auto-updates to include the new locale.
- Cancel your subscription → translated pages stay live in your Webflow site forever. See Ownership.